Showing posts with label warhammer 40k. Show all posts

Astra Militarium Cadian with Contrast

Another quick contrast tutorial, but this one showing how to paint up a Cadian trooper for Astra Militarium.  If you're collecting an army of these guys this will help get them looking good quickly and on the table top.

Ork Boyz with Contrast

Here's a quick tutorial for painting Ork boyz using contrast paints.  Since most ork armies need lots of boyz it's handy to have a method to get the masses painted quickly.  The nice thing with contrast paints is that you can always go back and add highlights, but its not necessary if you just want table top level guys.


Dreaded Ambull Tutorial and Pics

Here's the Dreaded Ambull video as well as still images of the finished model.  It was fun to paint up, especially since I was able to do so much with the airbrush.  Make sure you check out my Instagram feed for updates as I'm painting stuff..

https://www.instagram.com/its_like_watching_paint_dry/


Pics after the break

Dreaded Ambull WIP

I'm painting up the Dreaded Ambull from the first expansion to Blackstone Fortress for my brother.  I don't have the set, but thought it would be fun to paint up this model.  I laid down the first half with my airbrush and citadel paints, then moved over to brush painting for the rest.  Full video tutorial coming soon.

 More after the break:

Assassin posts

Here's some direct links to the assassin tutorials I did when I painted up the Assassinorum boxed game.  With the new rules coming up in the March White Dwarf I thought I'd make these easier to find.


Vindicare Assassin Tutorial

Eversor Assassin Tutorial

Culexus Assassin Tutorial

Callidus Assassin Tutorial

Deathwatch Overkill final WIP post

This should be the last progress shot of these guys.  I think I've finished all of the bits on theses guys, just have to do some edge highlights on the black and apply the gloss washes.  After that I'll do some final touch-ups on the whole set before taking some complete set photos.  I'm excited to be done these guys and will be happy to move along from space marines (not my favourite thing to paint).


Deathwatch Overkill Next batch finished

I've got 6 of the marines finished now, and the final 4 are already underway.  These guys are coming along nicely and it won't take too much more work to finish off the final guys.

I don't think there's anything special to report for these... maybe a few small things to touch up now that the gloss washes have dried.


More Deathwatch progress

Here's another update on my progress.  Working on 4 guys at once (all ones without helmets) and am getting close to the final wash steps.  As before, I've skipped the normal wash step after base coats and will do a gloss wash right at the end.  Things are coming together quickly now, and the next time I get a change to work on these guys I'll probably do them one at a time since I'm basically down to individual details (all the assembly line stuff is almost done).


Deathwatch kill team progress

I made a bit more progress on the space marine side of the overkill box.  I have two guys done, and the rest are now have the airbrushed black (and grey) plus some silver and gold.  I'll probably keep going with the whole batch until the gold is done, then just do a few at a time for the remaining colours.  The next step will be gold, then layer 1 of both the Gold and Silver then blue glaze for the left arms and a quick drybrush on that one.


Deathwatch Overkill: finished Cassius and Delassio

I made a bit of progress on the space marine side of the Deathwatch box.  I painted up Cassius and Delassio as a sort of test of my methods that I plan to use for the whole team.  I'm quite happy with the result and enjoyed painting two guys instead of 10-20 in a batch.  I pained the black armour and first highlight with my airbrush, so after that it was basically details.  I'm still experimenting with the gloss shades, but I think its working out well.  The general idea with them is to do the base colour and highlights first, then finishing with the shade.  I think this simplifies the process and takes out the step where you have to brighten things up after doing a normal shade.  The gloss really settles in the deeper areas without affecting the highlights, so I think this works out well.

A couple colours use a different process, such as the deathwatch silver arm.  For them I did, base, layer, blue glaze then a light drybrush highlight.  Just about everything else was base, layer, layer 2 then gloss shade.  For the armour it was black base, grey airbrush highlight then a thin edge highlight with Fenris Grey.

Next up, I've assembled the rest of the Deathwatch team and will do the airbrush step all at once.


Genestealer Cult update and notes about Orange

The cult is almost done now.  I'm cutting them off once I finish up the last layer of Orange.  I could keep going, but the point is to be efficient, and adding teeth, eyes, etc at this point kind of defeats the point.

There were a few comments about the orange on these guys, so I thought I'd list the recipe I've used.

Base: Jokero Orange (or Ratskin flesh, note below)
Shade: Fuegan Orange
Touch up: Jokero Orange (layers are very transparent, so a quick touch up on all the raised sections helps)
Layer 1: Troll Slayer Orange (this is quite transparent, so if you don't do Jokero Orange it won't be very bright)
Layer 2: Fire Dragon Bright (this just goes along sharp edges to pull out the details)

Note about the base, to save time I used Ratskin flesh on both the skin and orange for the base coat.  After the shade (purple for the flesh and orange for the cloth) you wouldn't really be able to tell, and I think it helped speed things up a little.

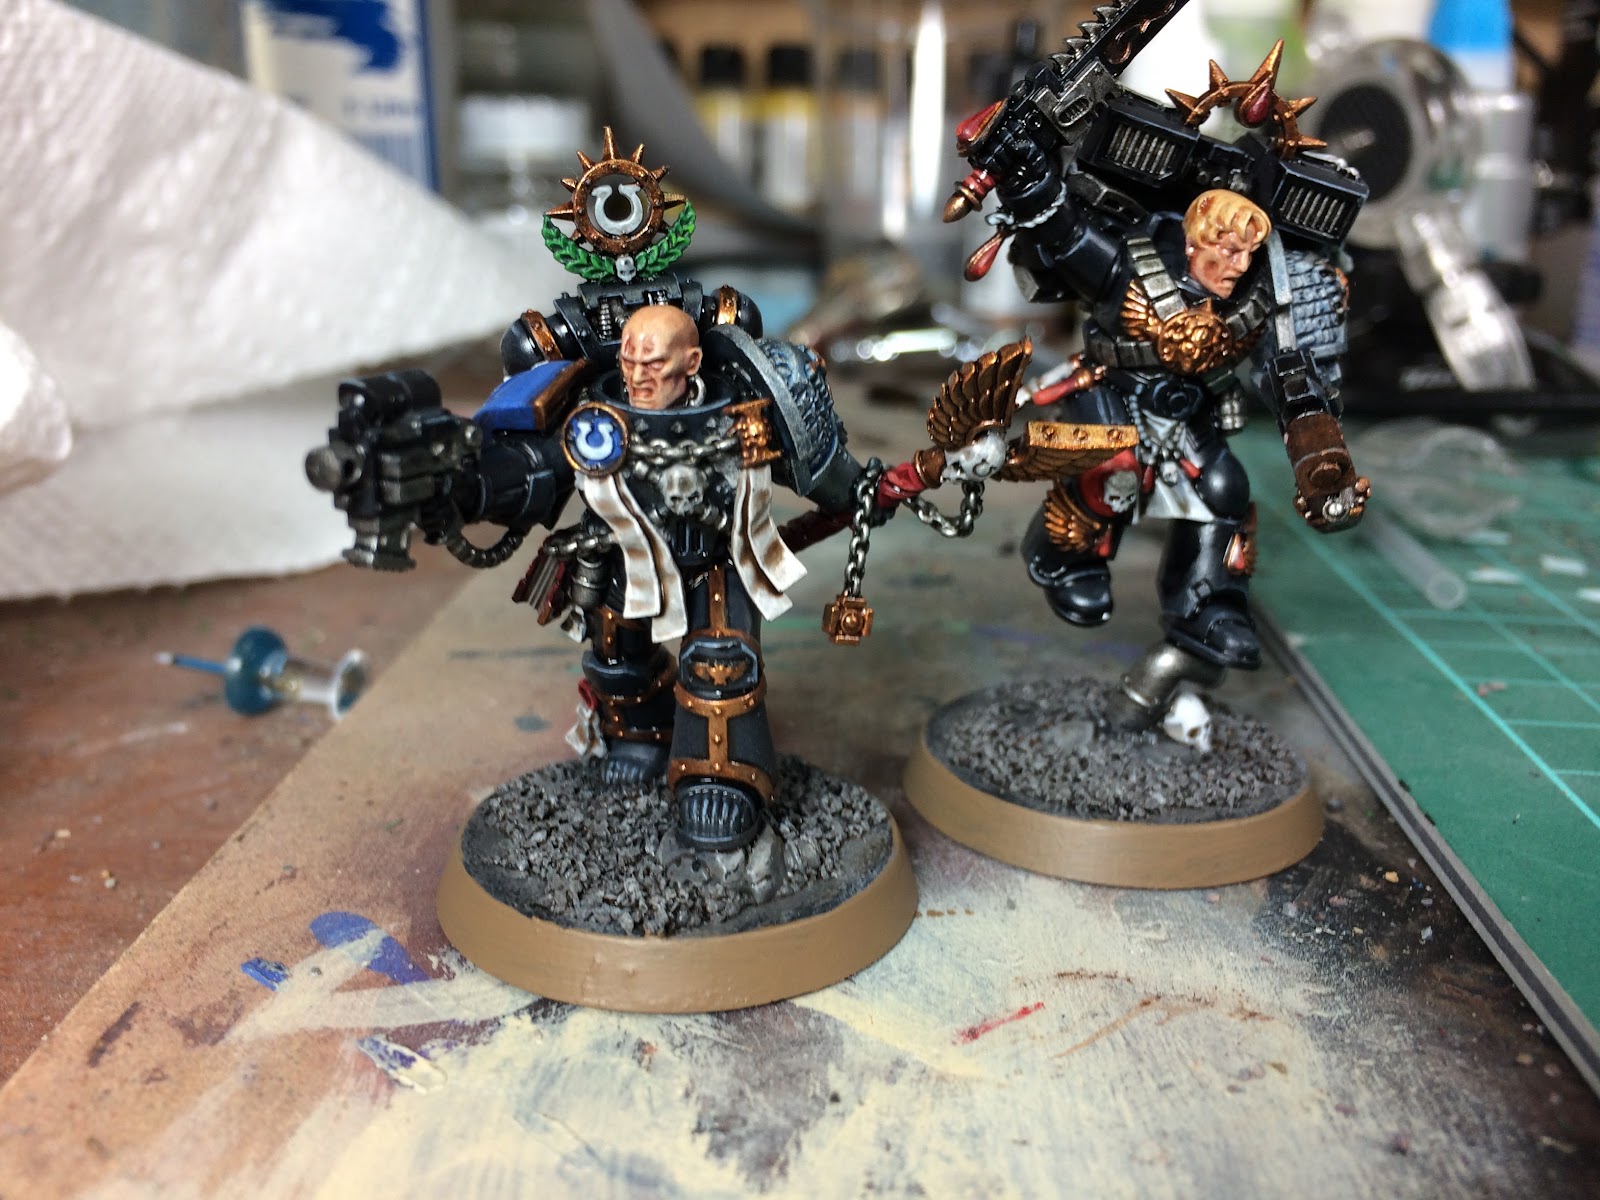
In the pictures below the two characters have the final orange highlight, but the other guys don't.


Genestealer Cult progress

I've been working on the primus and magus from the Genestealer cult half of the death watch box.  These guys are pretty sweet models and with my simple paint scheme they paint up pretty fast.  I tried out the new gloss wash (nuln oil) of the grey bits and am pretty happy with it.  It seems to collect in the deeper areas without tinting the raised portions as much.  I'll have to see how it looks after a dull coat spray, but for now it seems to be a good improvement. I painted a few more details after these pics, including a purple tint for the flesh... but they are done now, so its on to the final batch of 4th generation cultists now.


Ultramarine Commander almost done

I started working on this guy when I was doing the Ultramarine half of the Calth box set.  The blue was airbrushed and all the base colours done, so it was just a matter of finishing him off.  He's almost there now... just need to add some text to the banner and his shoulder pad and add a decal.

He's a mix of parts from the Ultramarine upgrade sprue and the old space marine commander multipart box.


Calth Finished

I'm calling this one done.  I changed my mind about doing oil washes for the Word Bearers, so I was able to finish up in a few less steps.  I'd say that they are a good table top level, but I'm happy with them.  Everything is back in the box and the board pieces are still unpunched.  Maybe I'll get a game in some day, but for now they are in the stack of fully painted GW games (Space Hulk, Dreadfleet,  and Assiasinorium).  I've got the deathwatch box now and have the genestealer half assembled and primed...

The stages for the word bearers were:
Spray black base
Red airbrushing (directional highlighting)
Silver details
Black details
Green eyes
Gloss spray (airbrushed future floor polish)
Decals (using micro sol and micro set)
matte spray (testors dull coat)
Shoulder pad silver edging
green eye highlights


Calth Word Bearers progress

I was able to carve out a little time last night to lay down a better red on the word bearer tactical troops.  I used GW paints in my airbrush and am quite happy with the brightness of the red.  The Minnitare paints don't go well over darker colours, but the GW ones have better pigments.

I'll have to retouch the black bits and add the silver before I can move onto the oil wash.


Calth Ultramarines almost done

A little more progress on the Calth Ultramarines.  I have all the decals done on the tactical squad and terminators, so they can get a matte spray and finish up the bases.  I may try to do some edge highlights, but that's not necessary for the level of finish I'm going for on these guys.  The terminator captain is almost done, just some more highlights and decals and he'll be done too.  The Word Bearer guy needs some work, but I'm liking how the red is looking on him so far.

Its good that I'm making progress since my Deathwatch box is showing up this weekend...


Betrayal at Calth Progress

Here's some more progress pictures of my ultramarines as well as the base coat (airbrush) for the word bearers.  The ultramarine tacticals got a coat of future floor polish to prepare for decals, and the terminators got their coat to prepare for the oil wash.  The captain is just getting normal layers, so he won't need the oil wash.

The airbrush layer on the word bearers was just red over a black primer, with a quick orange coat to brighten things up before layering it with red again.  I'm not sure if they are bright enough yet, so I may do another coat of red before moving on to the details.


Related Posts Plugin for WordPress, Blogger...