Here's some pictures of my Cursed City progress. I've got two charactors done, Skeletons, zombies and a few other bits. Most of the other stuff is primed and ready. I'm trying to use airbrushing and contrast paints to speed up my work flow, and I'm pretty happy so far with the results.
More after the jump...A blog mostly about Warhammer 40,000 and Fantasy with a focus on painting and tutorials.
Showing posts with label airbrush. Show all posts
Cursed City progress
I've made a bit of progress on my cursed city set. Everything is assembled and I've basically finished the skeletons. The zombies have zenital highlights and I've primed almost everything else.
Finished Full size X-Men vs Sentinel Chibi diorama
Here's the full size version of the Diorama. Lots of fun details, and a huge project. I took longer because I played with the idea of adding internal lighting.
Most base colours were done with the airbrush, and details were done with layers using a mix of citadel and reaper paints.
Finished Xmen diorama at 50%
I finally finished up the last two figures on the X-men vs Sentinel diorama. I joined the preorder in early march, and it was released around the start of our lockdown. I started with a full size version, but once I had it all printed I decided I needed a 50% size one that I could actually display. That's what this is. Storm and Jean were a stretch bonus that I had to pay extra for.
Click more below to continue... details about where to purchase and tons of pictures.
How to paint Magore's Fiends
Here's a tutorial for Magore's fiends. I painted them up in a pretty standard colour scheme. I laid down the red first with my airbrush then painted everything overtop of that.
I've pick up some contrast paints, so my next tutorials will probably be experimenting with different techniques (short cuts) with them.
Ylthari's Guardians how to paint and pics
I started these guys right after Thundrik's warband, but wasn't able to get at them over the weekend. Overall they were fun to paint. I think what made it a lot easier was airbrushing the base colours (roughly). This meant I didn't need to do multiple coats of light grey to get good coverage on their skin. Other than that these guys were pretty straight forward. Check out the video and additional pictures below.
Godsworn Hunt in Jem theme, tutorial and pics
Here's my attempt at doing the Godsworn hunt in a Jem and the Holograms theme. I think I got inspiration from some themed warband on Facebook. Anyway, I basically used the below pic as a colour guide. I didn't do anything too crazy with painting techniques, so the pictures are mostly useful for reference if you want to do something similar. A full painting tutorial is available after the break if you want to see how I did them.
I think the bases are what made this work so well for me. You can see more about that in the video, but the last picture below was the inspiration. Let me know what you think, or if you have any suggestions for future warband themes.
Chosen Axes Tutorial
Here's my latest Warhammer Underworlds warband to be painted up. These guys went fast since they are pretty simple (and almost naked). I used my airbrush to try to give a glowing feel to the runes on their skin, as well as the lava base.
Dreaded Ambull Tutorial and Pics
Here's the Dreaded Ambull video as well as still images of the finished model. It was fun to paint up, especially since I was able to do so much with the airbrush. Make sure you check out my Instagram feed for updates as I'm painting stuff..
https://www.instagram.com/its_like_watching_paint_dry/
Pics after the break
https://www.instagram.com/its_like_watching_paint_dry/
Pics after the break
Dreaded Ambull WIP
I'm painting up the Dreaded Ambull from the first expansion to Blackstone Fortress for my brother. I don't have the set, but thought it would be fun to paint up this model. I laid down the first half with my airbrush and citadel paints, then moved over to brush painting for the rest. Full video tutorial coming soon.
More after the break:
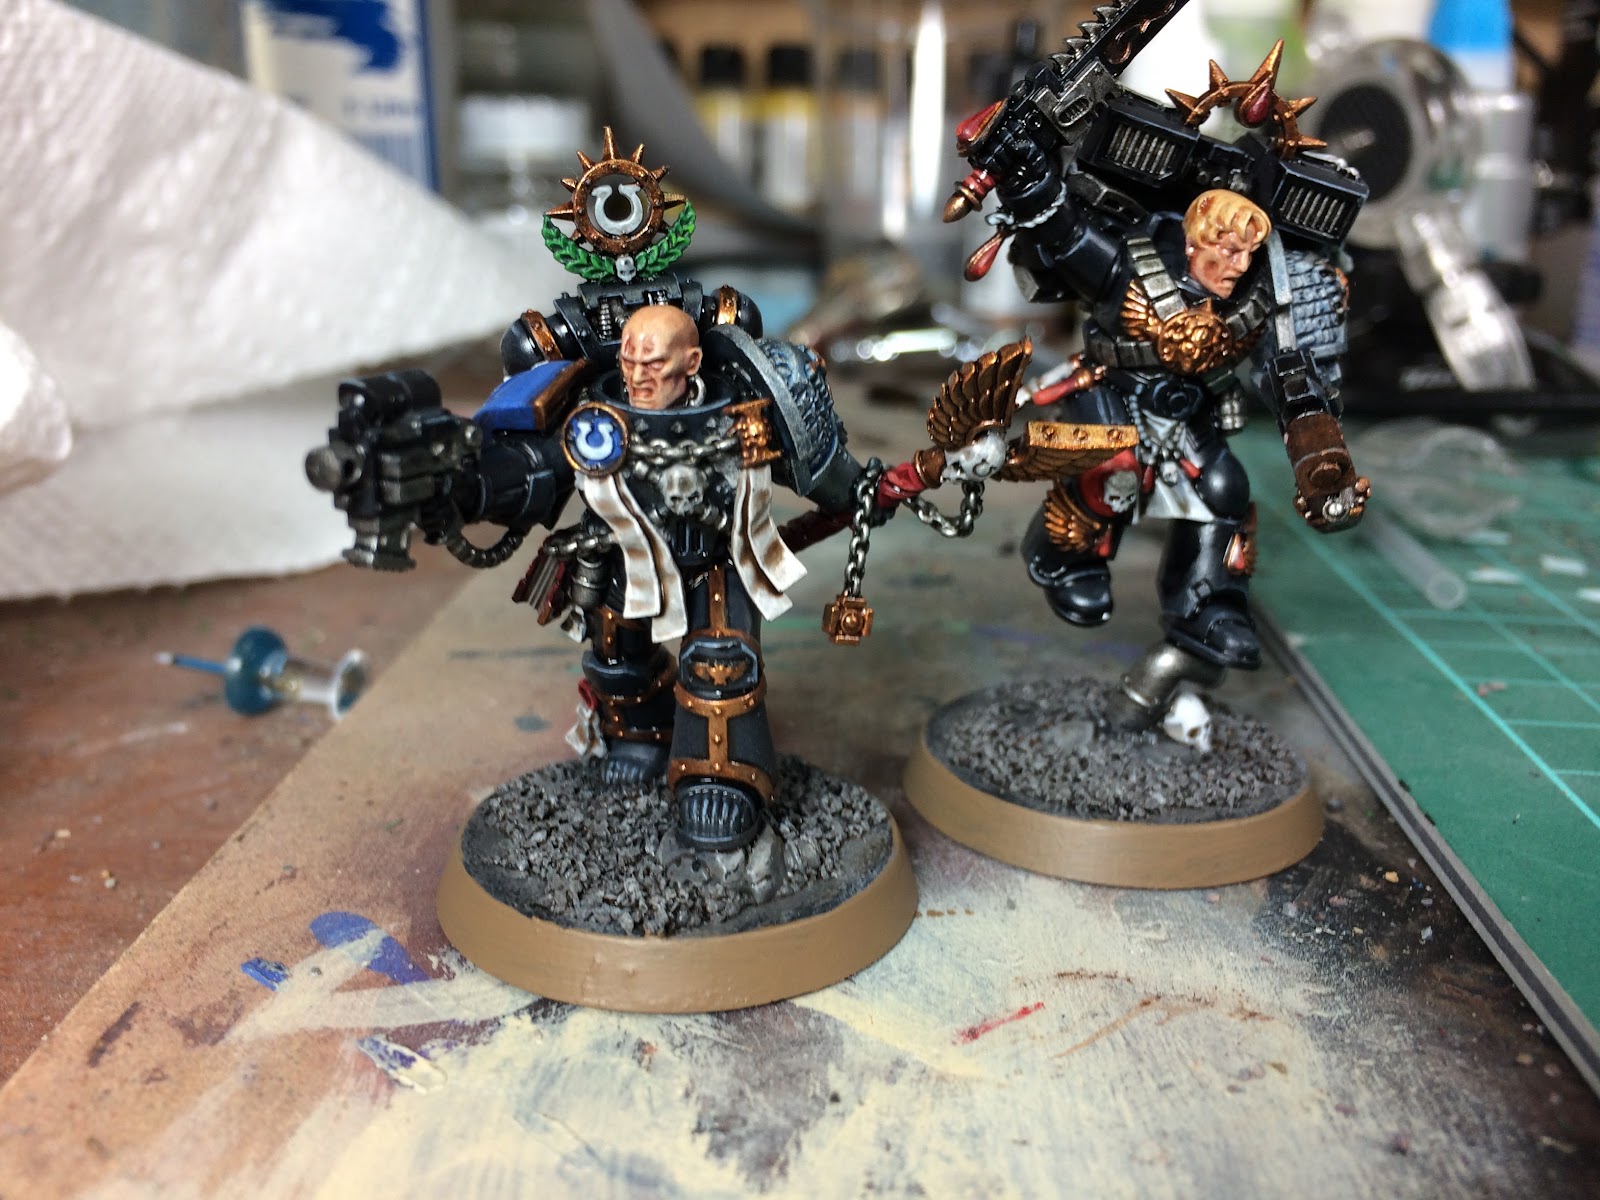
Deathwatch Overkill: finished Cassius and Delassio
I made a bit of progress on the space marine side of the Deathwatch box. I painted up Cassius and Delassio as a sort of test of my methods that I plan to use for the whole team. I'm quite happy with the result and enjoyed painting two guys instead of 10-20 in a batch. I pained the black armour and first highlight with my airbrush, so after that it was basically details. I'm still experimenting with the gloss shades, but I think its working out well. The general idea with them is to do the base colour and highlights first, then finishing with the shade. I think this simplifies the process and takes out the step where you have to brighten things up after doing a normal shade. The gloss really settles in the deeper areas without affecting the highlights, so I think this works out well.
A couple colours use a different process, such as the deathwatch silver arm. For them I did, base, layer, blue glaze then a light drybrush highlight. Just about everything else was base, layer, layer 2 then gloss shade. For the armour it was black base, grey airbrush highlight then a thin edge highlight with Fenris Grey.
Next up, I've assembled the rest of the Deathwatch team and will do the airbrush step all at once.
A couple colours use a different process, such as the deathwatch silver arm. For them I did, base, layer, blue glaze then a light drybrush highlight. Just about everything else was base, layer, layer 2 then gloss shade. For the armour it was black base, grey airbrush highlight then a thin edge highlight with Fenris Grey.
Next up, I've assembled the rest of the Deathwatch team and will do the airbrush step all at once.
Ultramarine Commander almost done
I started working on this guy when I was doing the Ultramarine half of the Calth box set. The blue was airbrushed and all the base colours done, so it was just a matter of finishing him off. He's almost there now... just need to add some text to the banner and his shoulder pad and add a decal.
He's a mix of parts from the Ultramarine upgrade sprue and the old space marine commander multipart box.
Future Floor polish
I had a question on my last post about where to find Future Floor Polish. Anybody who's tried to find it will know that it doesn't exist by that name, but just about everybody still calls it that.
First off, what is it? Basically its an acrylic gloss medium that meant to coat furniture but works amazingly well for hobby purposes. It goes on easily in from an airbrush or regular brush. You can use it for general gloss coats, protecting layers underneath when using oil paints, or using it as a base for decals to prevent silvering. With oils the key thing is that its acrylic based, so thinners won't eat through it. This is important if you're doing an oil wash and rubbing it off later because a regular gloss spray is oil based and will dissolve with your wash.
I think I first found out the name changed in a model train magazine, so when I saw this in Walmart I knew it was really Future floor polish in disguise. Here's a few pictures of the bottle I have. It was purchased a few years ago in Canada, but I believe its the same thing in the USA.
First off, what is it? Basically its an acrylic gloss medium that meant to coat furniture but works amazingly well for hobby purposes. It goes on easily in from an airbrush or regular brush. You can use it for general gloss coats, protecting layers underneath when using oil paints, or using it as a base for decals to prevent silvering. With oils the key thing is that its acrylic based, so thinners won't eat through it. This is important if you're doing an oil wash and rubbing it off later because a regular gloss spray is oil based and will dissolve with your wash.
I think I first found out the name changed in a model train magazine, so when I saw this in Walmart I knew it was really Future floor polish in disguise. Here's a few pictures of the bottle I have. It was purchased a few years ago in Canada, but I believe its the same thing in the USA.
Calth Finished
I'm calling this one done. I changed my mind about doing oil washes for the Word Bearers, so I was able to finish up in a few less steps. I'd say that they are a good table top level, but I'm happy with them. Everything is back in the box and the board pieces are still unpunched. Maybe I'll get a game in some day, but for now they are in the stack of fully painted GW games (Space Hulk, Dreadfleet, and Assiasinorium). I've got the deathwatch box now and have the genestealer half assembled and primed...
The stages for the word bearers were:
Spray black base
Red airbrushing (directional highlighting)
Silver details
Black details
Green eyes
Gloss spray (airbrushed future floor polish)
Decals (using micro sol and micro set)
matte spray (testors dull coat)
Shoulder pad silver edging
green eye highlights
The stages for the word bearers were:
Spray black base
Red airbrushing (directional highlighting)
Silver details
Black details
Green eyes
Gloss spray (airbrushed future floor polish)
Decals (using micro sol and micro set)
matte spray (testors dull coat)
Shoulder pad silver edging
green eye highlights
Calth Word bearers progress
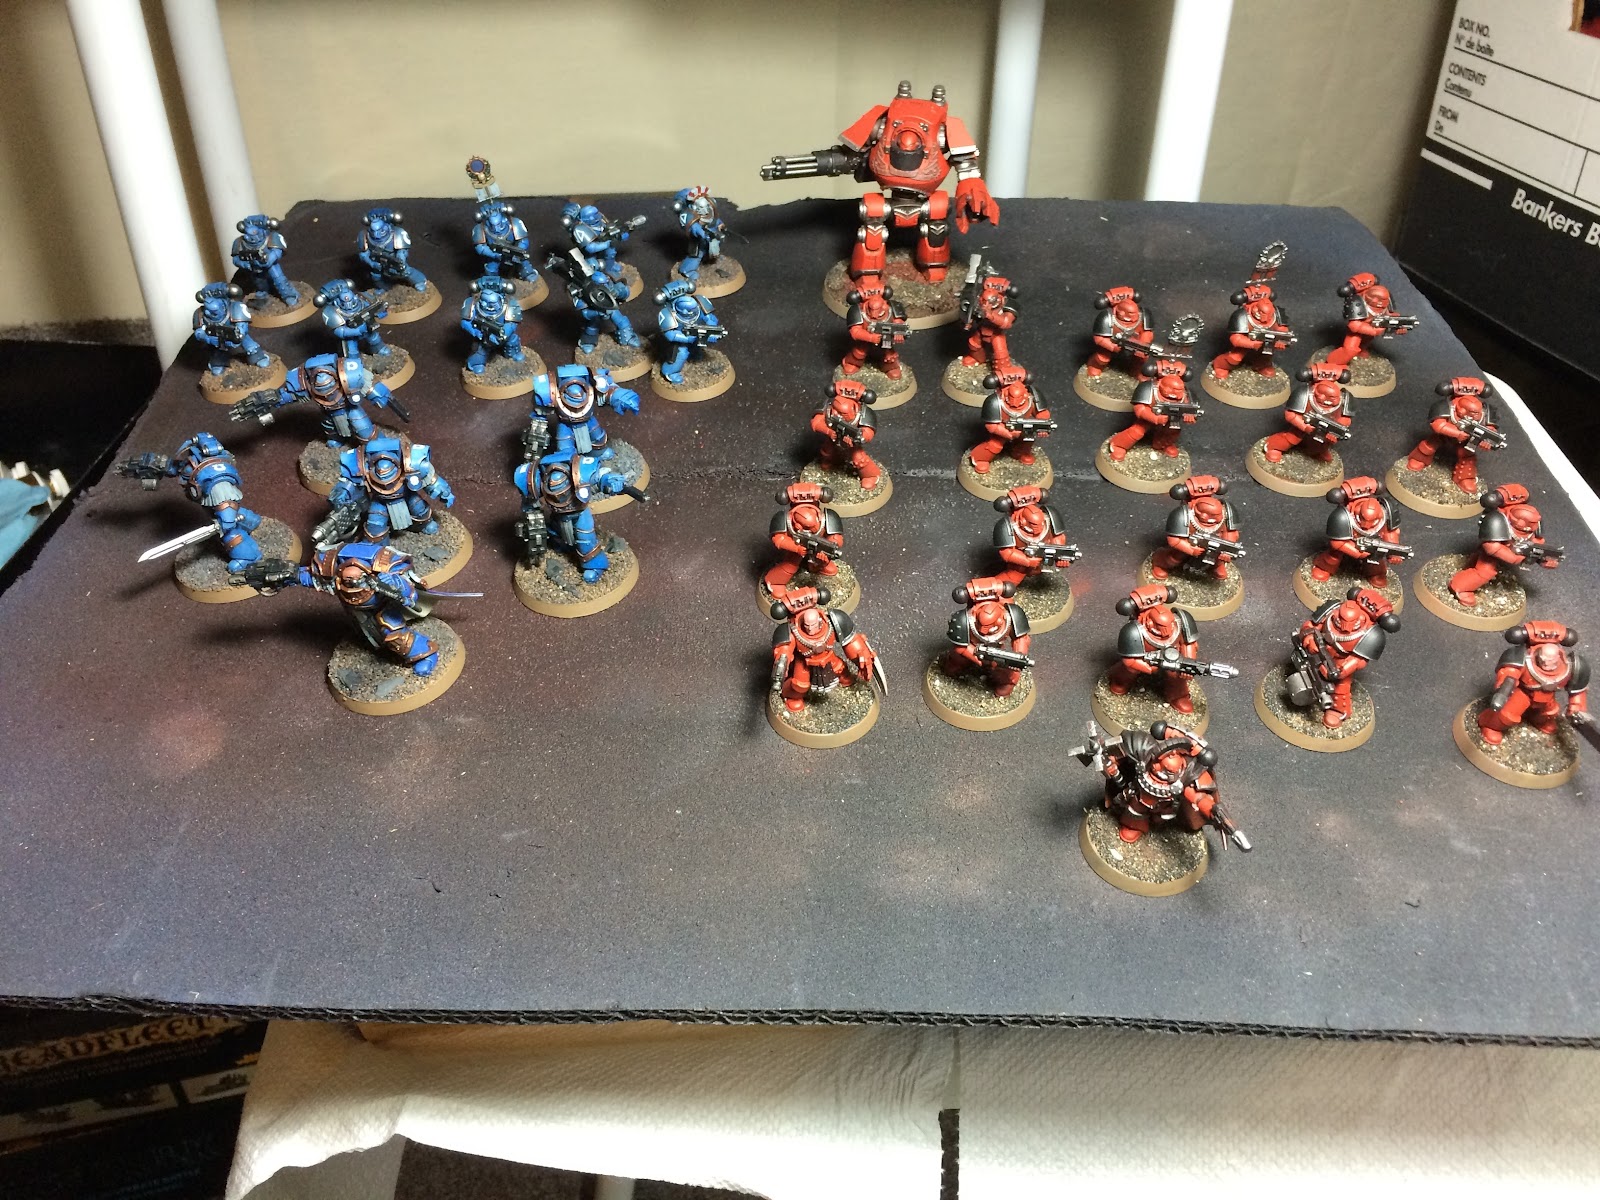
Here's a quick picture showing the state of things on my Calth set. The Word Bearers are almost ready for their oil paint treatment, and the Ultramarines are pretty much done. The bases are basically done as well, so they are passable as table top ready, but I'd like to add some more details and highlights.
Calth Word Bearers progress
I was able to carve out a little time last night to lay down a better red on the word bearer tactical troops. I used GW paints in my airbrush and am quite happy with the brightness of the red. The Minnitare paints don't go well over darker colours, but the GW ones have better pigments.
I'll have to retouch the black bits and add the silver before I can move onto the oil wash.
Betrayal at Calth Progress
Here's some more progress pictures of my ultramarines as well as the base coat (airbrush) for the word bearers. The ultramarine tacticals got a coat of future floor polish to prepare for decals, and the terminators got their coat to prepare for the oil wash. The captain is just getting normal layers, so he won't need the oil wash.
The airbrush layer on the word bearers was just red over a black primer, with a quick orange coat to brighten things up before layering it with red again. I'm not sure if they are bright enough yet, so I may do another coat of red before moving on to the details.
Calth Ultramarines - Oil Wash results
Here's the results after using a Q-tip to wipe off the excess oil wash. I waited about 6 hours after applying it and took a q-tip to each model (both ends, one per model) and wiped away as much of the wash as I could. I had to be a bit careful on any sharp bits so they didn't catch on the cotton, but for the most part I was wiping away everything on the flat surfaces. In the end all that is left is what was in the recesses and you don't need to do much highlighting. I'm pretty happy with these guys, and they could be left as is, or if I have time I could add some edge highlights. They'll definitely need a matte spray finish, but I'll do that after I do their bases with some sand finish.
I wish I had made the highlights a bit more pronounced with the airbrush, so that's a note for next time.
This is before
Before
After
After (he'll need some highlights on his helmet)
The whole squad after I finished
Calth Ultramarine Tactical progress - Oil wash
I managed to get through the oil wash stages on my tactical troops from the Calth box. This was a bit of a test, and I'm pretty happy with the results. To review, first was laying down some basic highlights with the airbrush (blues), adding silver, gold and black (plus some grey and red details), then spraying with future floor polish before adding an oil based black wash.
The idea is this... future floor polish is an acrylic gloss finish. This will protect the paints underneath from the oils and allow me to rub off some of the black after its partially dry. The gloss finish allows the paints to flow nicely, and since its from a bottle I can airbrush it on. The oil wash is just a mix of thinner and artist oil paints. I'll be using black, but you could use whatever makes sense for the colours your are shading.
Tactical squad with the acrylic gloss coat
Closer look at the gloss finish
All ready for the oil wash
Oil wash applied
Ok to dry for a few hours
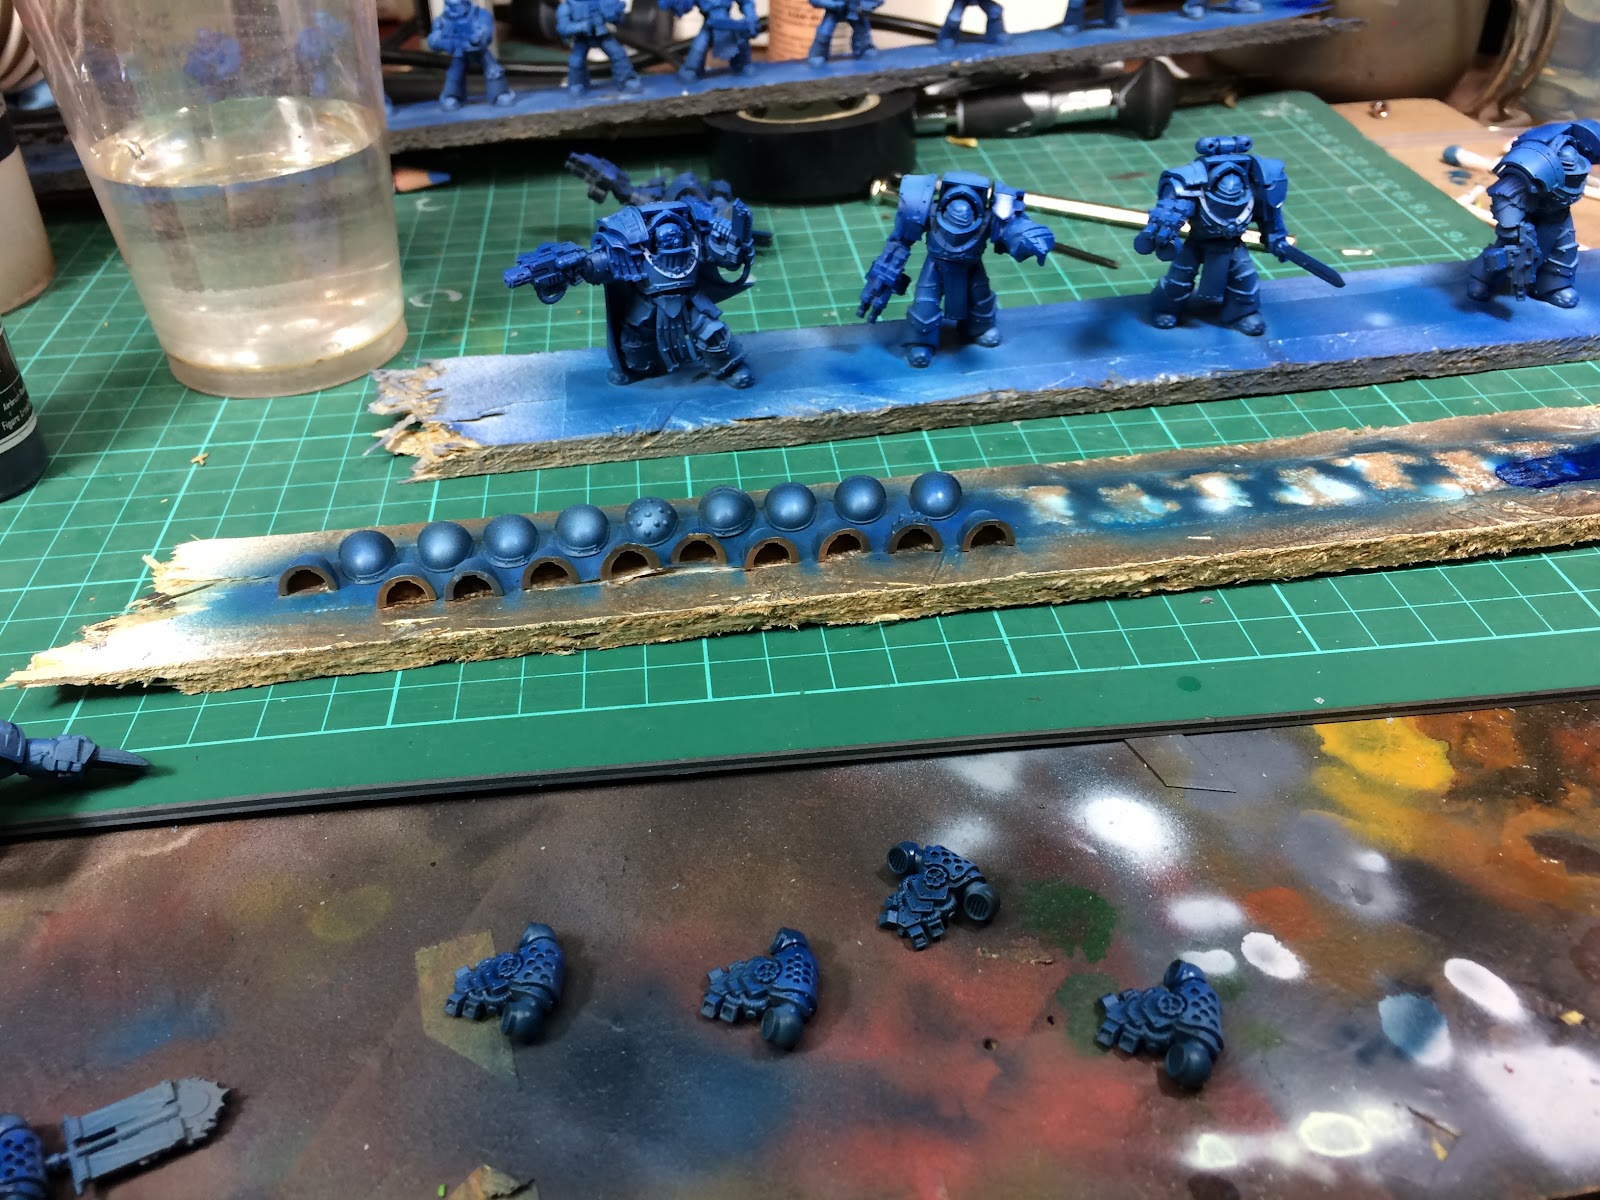
Ultramarine progress - Airbrushing
I finally got around to airbrushing these guys. I had to check that my compressor wouldn't wake up my son, and thankfully being at the opposite side of the house was sufficient. So that means I can work on things while he's napping or sleeping.
Anyway, I added some highlighting layers to these guys. I'm using Badger minitaire paints, and found that they weren't really adding much until I added some white to the paint. In the future I think I'm going to start with a black base rather than blue and work up the colours. After a blue and white coat I added some blue ghost tint to the models. Some of it helped, but I also think I may have messed up some areas. Maybe I'll give these guys another shot before moving on to brushing on the other colours.
Subscribe to:
Posts (Atom)